When installing the Time client, your Artica server is designed to be synchronized automatically with a set of time servers.
This is the reason you did not have to manually change the clock when turning Artica to NTP Time Client
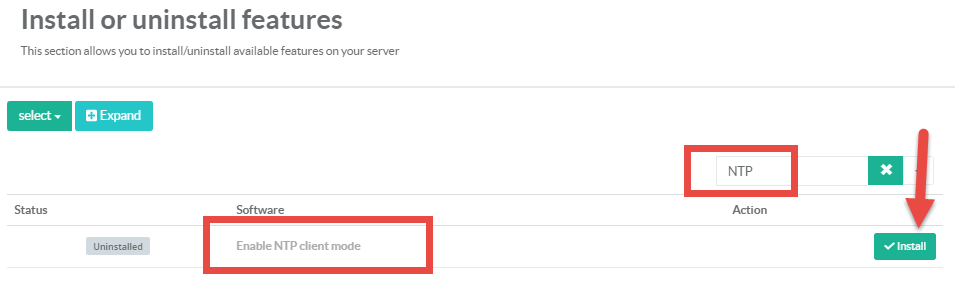
- On the Features section search the entry “NTP”.
- Click on the Install button under the Enable NTP client mode.
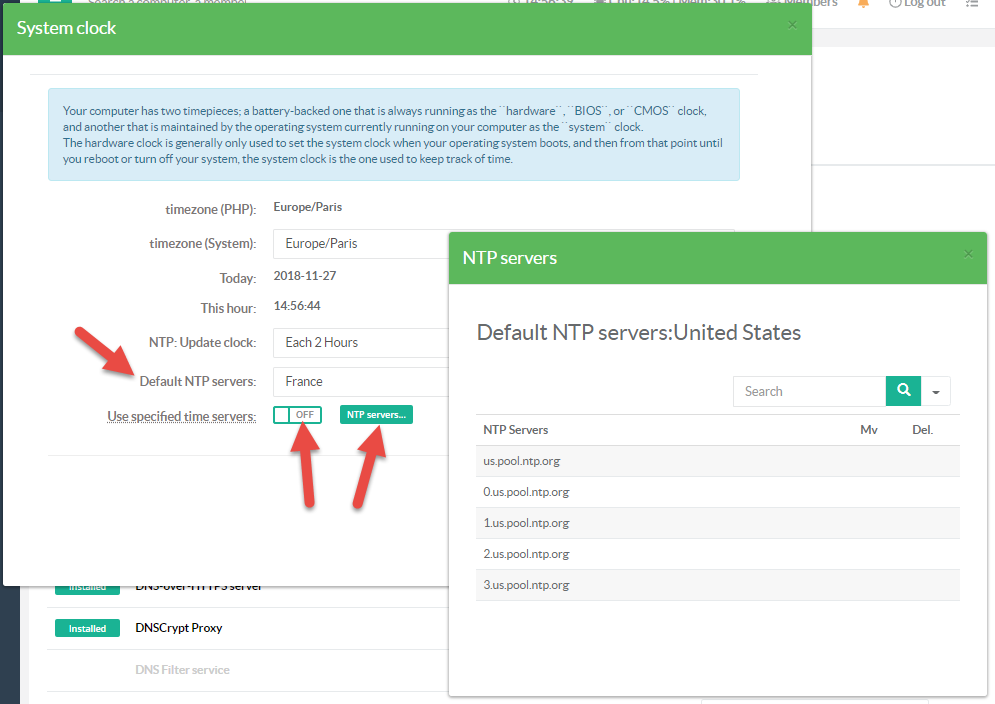
- After installing the NTP client, return to the top menu, click on the displayed time
- You can modify the schedule to synchronize the clock (by default each 2 hours)
- If “Use Specified time servers” is off, the NTP client will choose a public list of time servers according to the chosen country in the “Default NTP servers” list.
- You can see the list by clicking on the “NTP servers” button.
- If “Use Specified time servers” is ON, the NTP client will choose a list of time servers you have to define.
- You can manage the list by clicking on the “NTP servers” button.
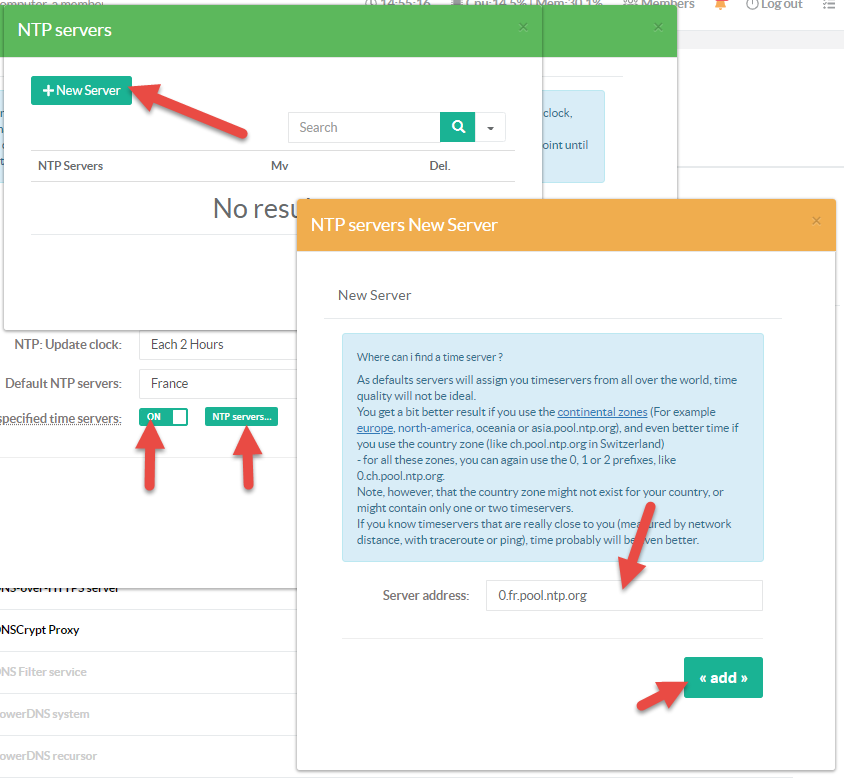
The NTP servers section allows you to add an Internal or Public NTP server
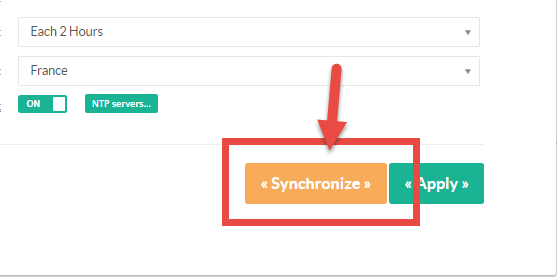
- After adding your NTP servers, you can click on Synchronize to update your server’s clock